Creating API Routes in Next.js | (Part 2)
Next.js Application with Custom API Endpoints


Table of contents
In this Short Blog, we will understand How to create API routes in the NextJS app router with file-based Routing
Introduction to API Routes
An API acts as a bridge between the front end and back end of a software application. It works like this: the frontend requests data or services, and the backend provides that data or services using APIs
If you have been following this series or have read the previous blog, you likely understand the general concept of routes in front-end development.
Frontend routes, such as the one in the URL of the page, are clearly visible to users. However, it's important to note that backend or API routes are not visible to the user.
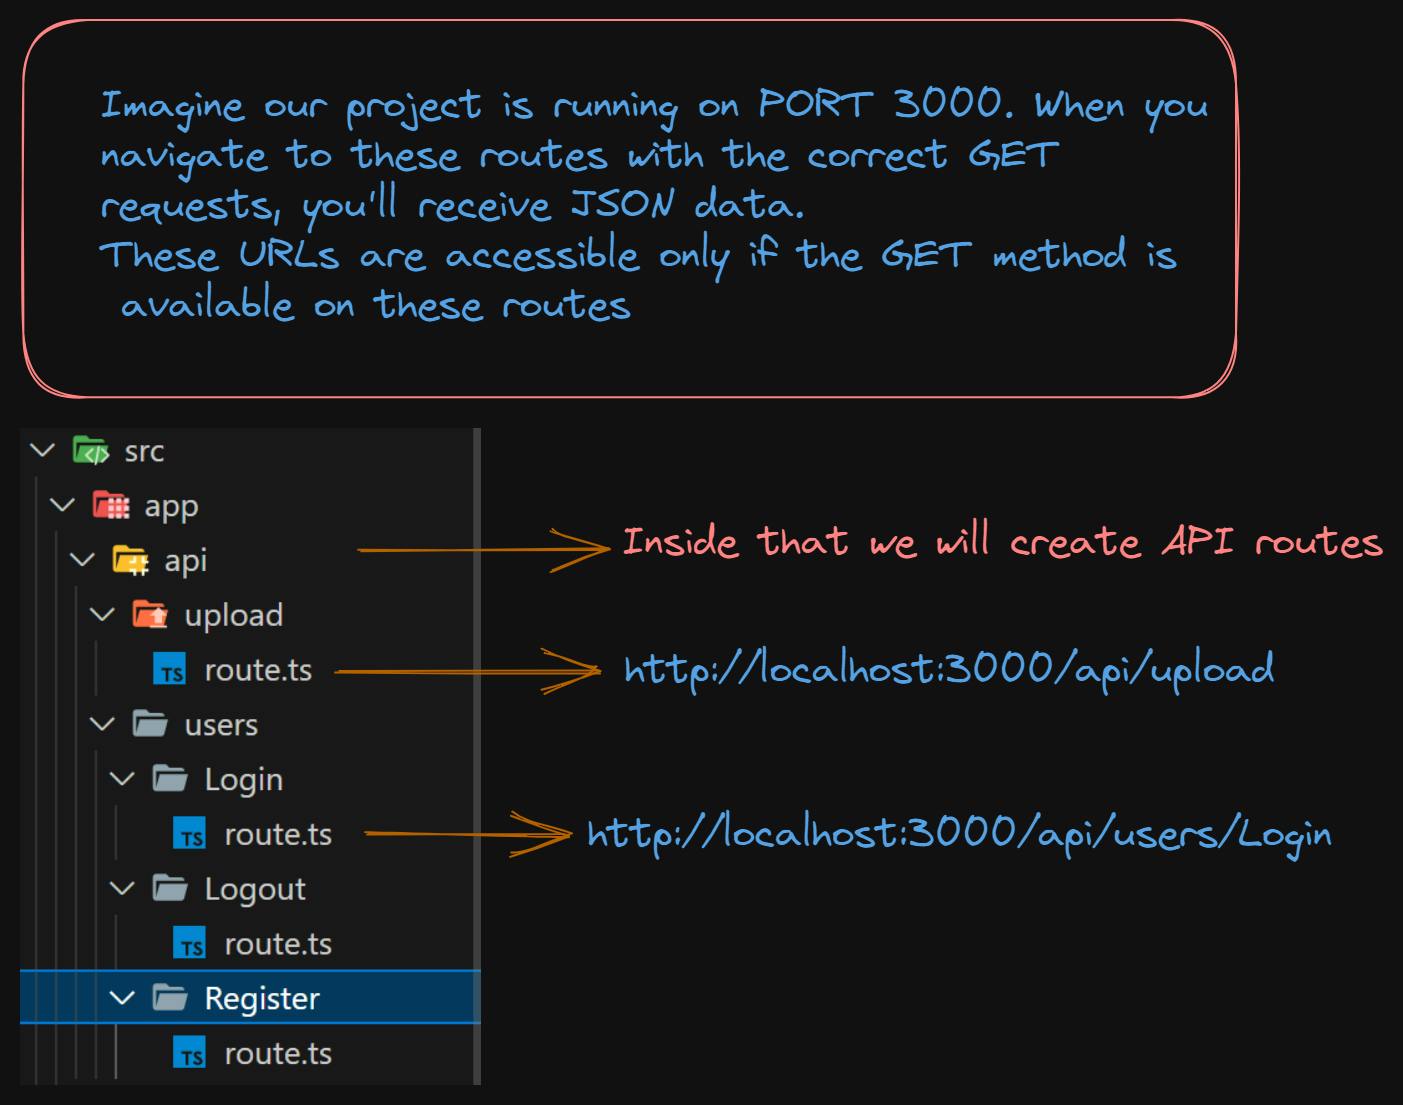
File Structure for Creating API:
We know Next.js is a full-stack framework, that allows developers to write both frontend and backend code within the same project.
To avoid confusion and maintain a clean project structure, it's a best practice to create a api folder. Inside, you can define the routes you need for your backend functionality. This approach significantly enhances the developer experience by providing clear separation between frontend and backend code
Note:- It is not mandatory to Create api folder
In Web Development, you have 4 main HTTP methods
GET - When we want to ask for some information.
POST - When we want to give something new to the server.
PUT - When we want to change something that's already there.
DELETE - When we want to Delete something from the server.
In this blog, I've shown you how to make API endpoints in the Next.js app router. I didn't go into the details here, but I'll explain everything in future blogs in this series. Thanks for reading this short introduction.
Happy Coding 🎉